
If you’re searching for yoga for hip pain relief, chances are you’re tired of living with frustrating injuries and debilitating pain. I get it…
For years, I struggled with compression in my lower back, which eventually led to severe pain in my right hip.
When you’re experiencing pain, it can feel as though the world is crashing in on you. It’s soul crushing. And yet, there are simple exercises you can practice today that will dramatically impact your relationship to pain.
So, can yoga help with hip pain? Absolutely — so long as we stop stretching and start strengthening and stabilizing key muscle groups. Let’s take a closer look.
The Problem with Yoga Stretches for Hip Pain
I’ll be the first to admit that traditional hip opening postures like pigeon and child’s pose feel fabulous in the moment. There’s just one problem…
These hip stretches cause you more pain and unnecessary injury.
Let me explain.
Most yoga students believe they improve their flexibility and overall wellness when they “open up the hips.” The thing is, flexibility always leads to instability. And where there is instability, pain and injury inevitably follow.
I want you to remember that yoga has absolutely nothing to do with stretching and everything to do with stability — stability of both the body and the mind.
That’s exactly why I created AYAMA™ — a revolutionary way to practice yoga that focuses on activating and engaging the muscles, not stretching them out. I’ve used this proven system to help hundreds of people overcome chronic pain, and I know they will help you experience hip pain relief, too.
Now, let’s explore yoga for hip pain relief — poses that activate and strengthen key muscle groups so you can experience the long-term results you desire.
Pro Tip: Child’s pose is one of the worst yoga postures to practice, full stop. When you practice child’s pose, you overstretch the back muscles and force the hip flexors to passively shorten beyond their intrinsic range of motion. When it comes to yoga for hip pain, just say no to child’s pose! Scroll to the bottom to listen to why! 👇🏻

6 Yoga Poses For Hip Pain Relief
The following AYAMA exercises for hip pain relief are not common yoga poses. Stay with me. As you activate and engage these muscles, you’ll become stronger, more stable, and, most importantly, pain-free.
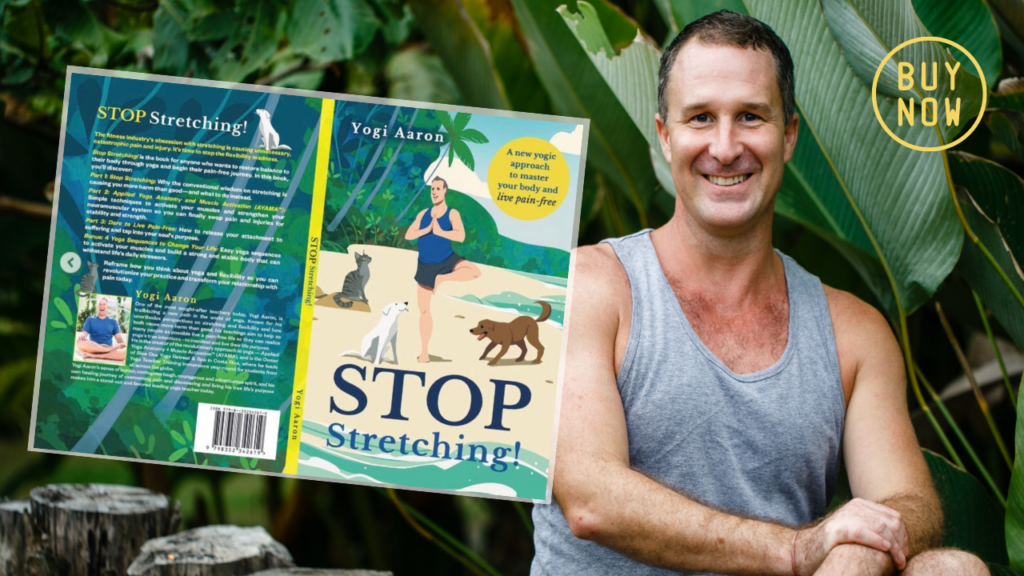
Author’s note: Are you ready to prevent injuries, restore balance to your body, and live pain-free? You’ll find these yoga poses (and many more!) in my Amazon bestseller: Stop Stretching! Learn more here.
1. Psoas Major Activation
Your psoas major supports you to flex at the hips and lift and rotate your thigh laterally. If your psoas major isn’t firing, it negatively affects your entire skeletal system — and hip pain often ensues.
Think of your psoas major as a bridge that connects your upper and lower halves, spine, and legs. If this bridge collapses, your neuromuscular connection is compromised, and all stability is lost.
For this AYAMA exercise, lie on your back with your feet firmly planted. Walk your feet a few inches toward your spine. (You should be able to brush your heels with your fingertips.)
Let’s take a moment to find your left psoas major. Bring your hands to your naval center and your left hip bone. Now, find the middle spot between these two points. Bring your left fingers in diagonally to gently push.
Do you feel your psoas major? If not, don’t worry. Keep your fingers where they are.
Take your left foot and place it over your right knee (like you might for a traditional runner’s stretch.) Bring your right hand to your left knee, and press the two together.
Push on your knee (so that your knee would fall toward your chest if you removed your hand.)
Now can you feel your psoas major engaging? If you’re still having trouble, try moving your fingers up or down an inch or so until you locate the muscle.
Hold the pose for six seconds, and repeat it six times. Repeat this psoas major muscle activation on the right side.

2. Iliacus Activation
Your iliacus and psoas are often referred to as the iliopsoas; combined, they are the strongest hip flexors in your body!
Your iliacus supports both hip flexion and internal rotation and aids in proper posture and spinal alignment. A strong and activated iliacus muscle will reduce postural distortion and the risk of hip pain and injury.
Lie down on your back with your legs extended. Externally rotate both the left and right legs and allow your feet to drop open.
Squeeze your thighs together while maintaining the external rotation in your legs. Now, lift both legs a few inches off the ground while squeezing the thighs together. Hold the pose for six seconds, and repeat it six times.
If lifting both legs simultaneously isn’t accessible today, don’t worry. Lift one leg at a time. As you build strength, you’ll find you can progress with this exercises for hip joint pain relief yoga.

3. TFL Activation
Your TFL (tensor fasciae latae) is responsible for hip flexion, abduction, and internal rotation, and it plays a significant role in stabilizing your pelvis.
Here’s what I want you to remember:
Your TFL and gluteus muscles work in synergy. If your gluteal muscles aren’t working, the TFL will tighten up (and vice versa). This compromises your entire spine, leading to potential hip pain and injury. (We’ll explore how to activate your gluteal muscles later in this article.)
You’ll want to grab a yoga strap or Theraband for this exercise. Lie on your back with your legs extended in front of you.
Now, internally rotate your left leg; allow your left toes to drop in. Lift your left leg up and out to the left, about 20 degrees. Hold the pose for six seconds, and repeat it six times. Repeat on the right side.
If you’d like to advance this yoga for hip pain relief, loop your yoga strap around both ankles. Repeat the above exercise, but this time, actively press your left ankle into the strap.

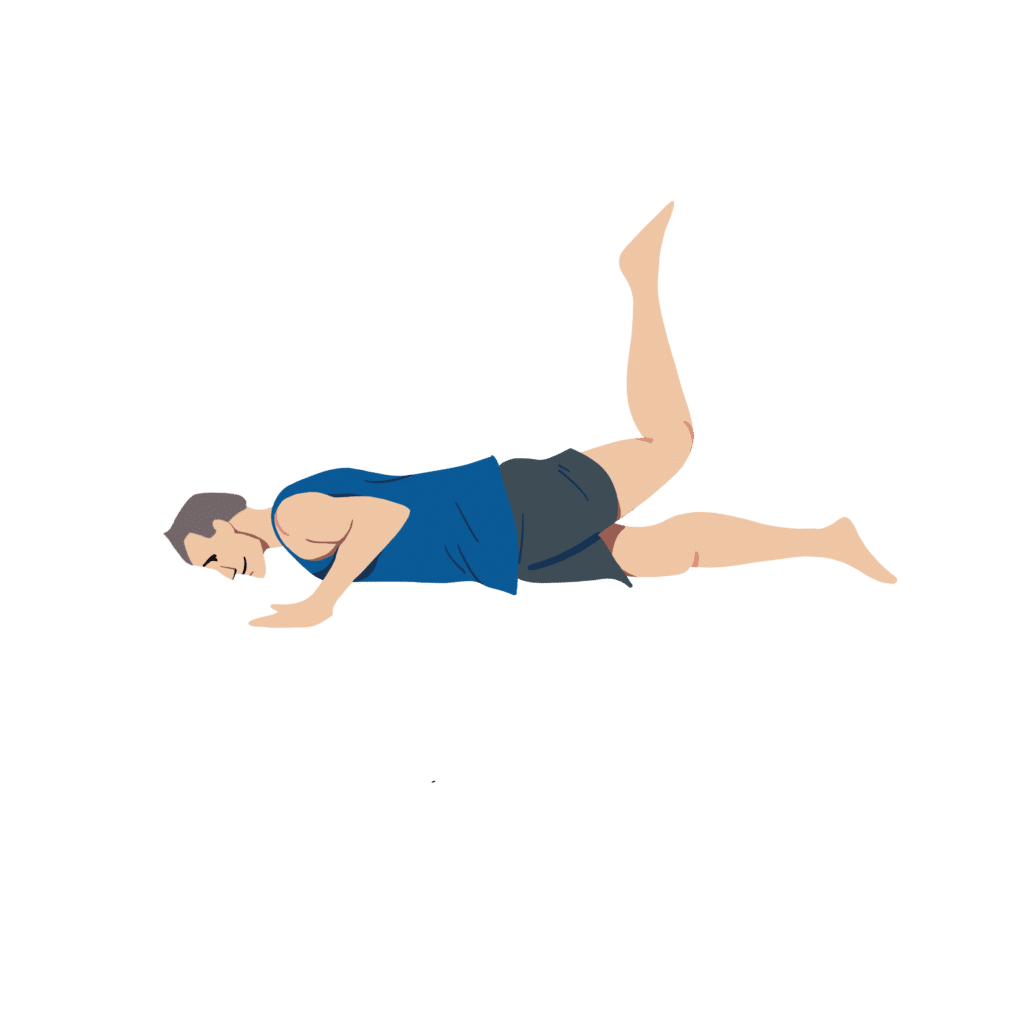
4. Locust Pose Variation
Imagine for a sec that you’re driving down a bumpy, potholed road.
You quickly realize that your shock absorbers are worn — they aren’t adequately buffering the blows from the rough road conditions. As a result, your axles must take the brunt of the potholes.
As someone who has lived down a bumpy, jungle-lined gravel road for years, I can confidently assert that, in this scenario, your axles will not last long. Your axles weren’t designed to act as shock absorbers. As a result, they will eventually reach their breaking point.
I want you to think of your gluteus maximus as your shock absorbers and your lower back/hips and knees as your two axles.
If you have a weak, inactive gluteus maximus, your lower back, hips, and knees will be forced to step in and act as your body’s shock absorbers—and they will, eventually, bear the repercussions! It’s one reason so many people experience back pain and knee pain.
Let’s get into one of my favorite yoga poses to relieve hip pain.
Lie on your stomach, and bend your left knee. Begin to lift your left thigh bone off the ground. As you do so, ensure your hips remain firmly planted on your mat.
You might only be able to raise your leg a few inches, and that’s okay! As you continue to practice this muscle activation, your leg will continue to go higher and higher. Hold for six seconds, and repeat it six times. Then move to your right side.
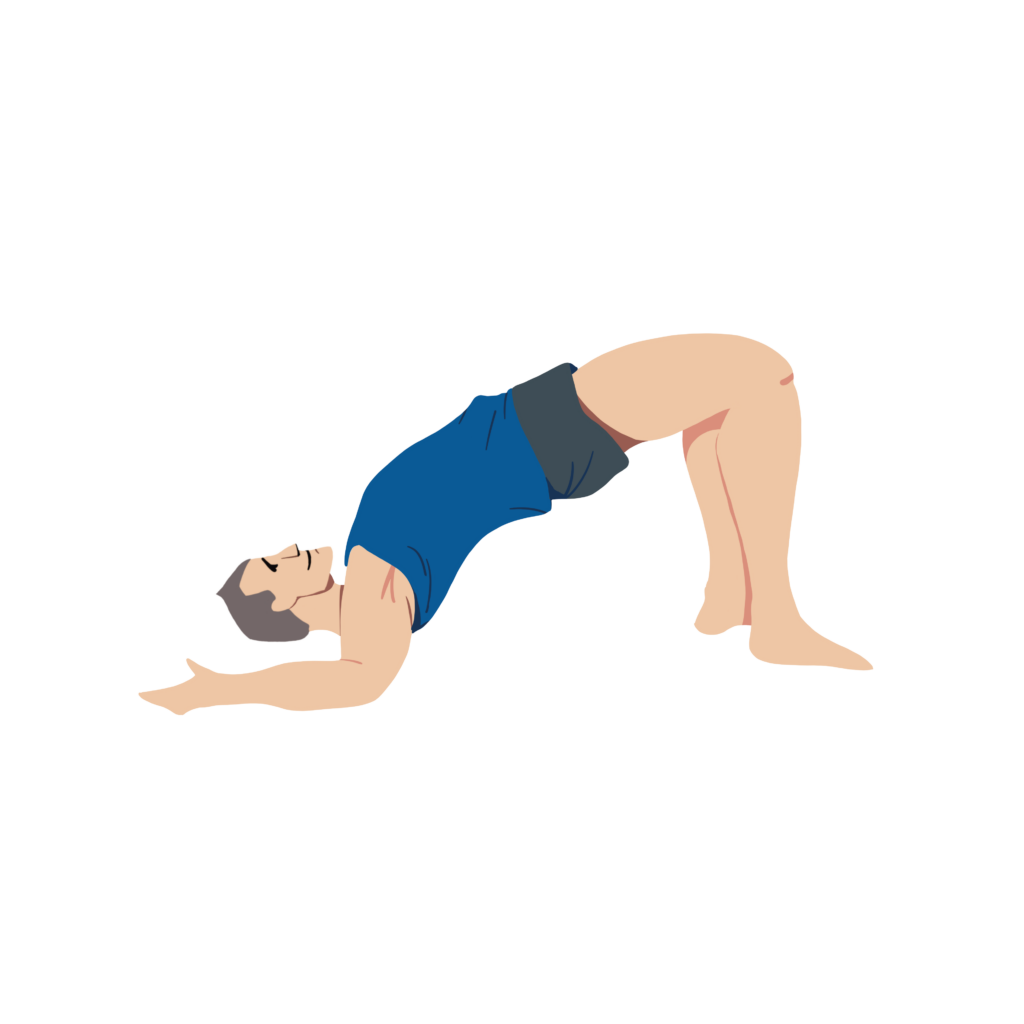
5. Bridge Pose
Your gluteus maximus is one of the strongest muscles in your body and, in my opinion, one of the most important to activate. So, here’s another AYAMA exercise that zeros in on your gluteus maximus: Bridge Pose.
Bridge Pose is a popular yoga pose for hip pain relief — and one of my go-to’s for daily AYAMA practice!
Lie on your back, and bend your knees with your feet planted beneath you. Relax your arms up overhead so you resist the urge to use your arms to lift off the ground.
Lift your gluteal muscles as high as you can. Ensure that you’re squeezing your buttocks!
Don’t let the knees collapse inward or fall open, but instead, imagine you are squeezing a block between your thighs. Hold for six seconds, then repeat the move six times.
6. Gluteus Medias Rotations
Not to be confused with your gluteus maximus, your gluteus medias supports hip movement, spinal stability, and balance. You use your gluteus medias whenever you internally or externally rotate your legs.
Grab your yoga strap or TheraBand. Keep it on the lowest resistance, and loop it around your ankles.
Lie down on your mat with your legs extended in front of you. Begin by internally rotating your legs toward your midline. Then press the legs out and away from one another as you push into the outer edge of your yoga strap. Hold for six seconds, and repeat six times.
For maximum effect, repeat the above exercise with your legs in a neutral position and again with your legs rotated externally.

The bottom line about yoga for hip pain relief
Most yoga teachers will instruct you to drop into hip stretches like pigeon or child’s pose when it comes to yoga poses for hip pain. This would be a mistake.
When we overstretch the hip and back muscles, we weaken our neuromuscular connection — and pain and injury inevitably ensue.
Instead, focus on activating the muscles that support your hips and protect your spine. These exercises for hip pain relief are an excellent place to begin.
If you’d like to learn more about AYAMA, check out my bestselling book, Stop Stretching!
Now…
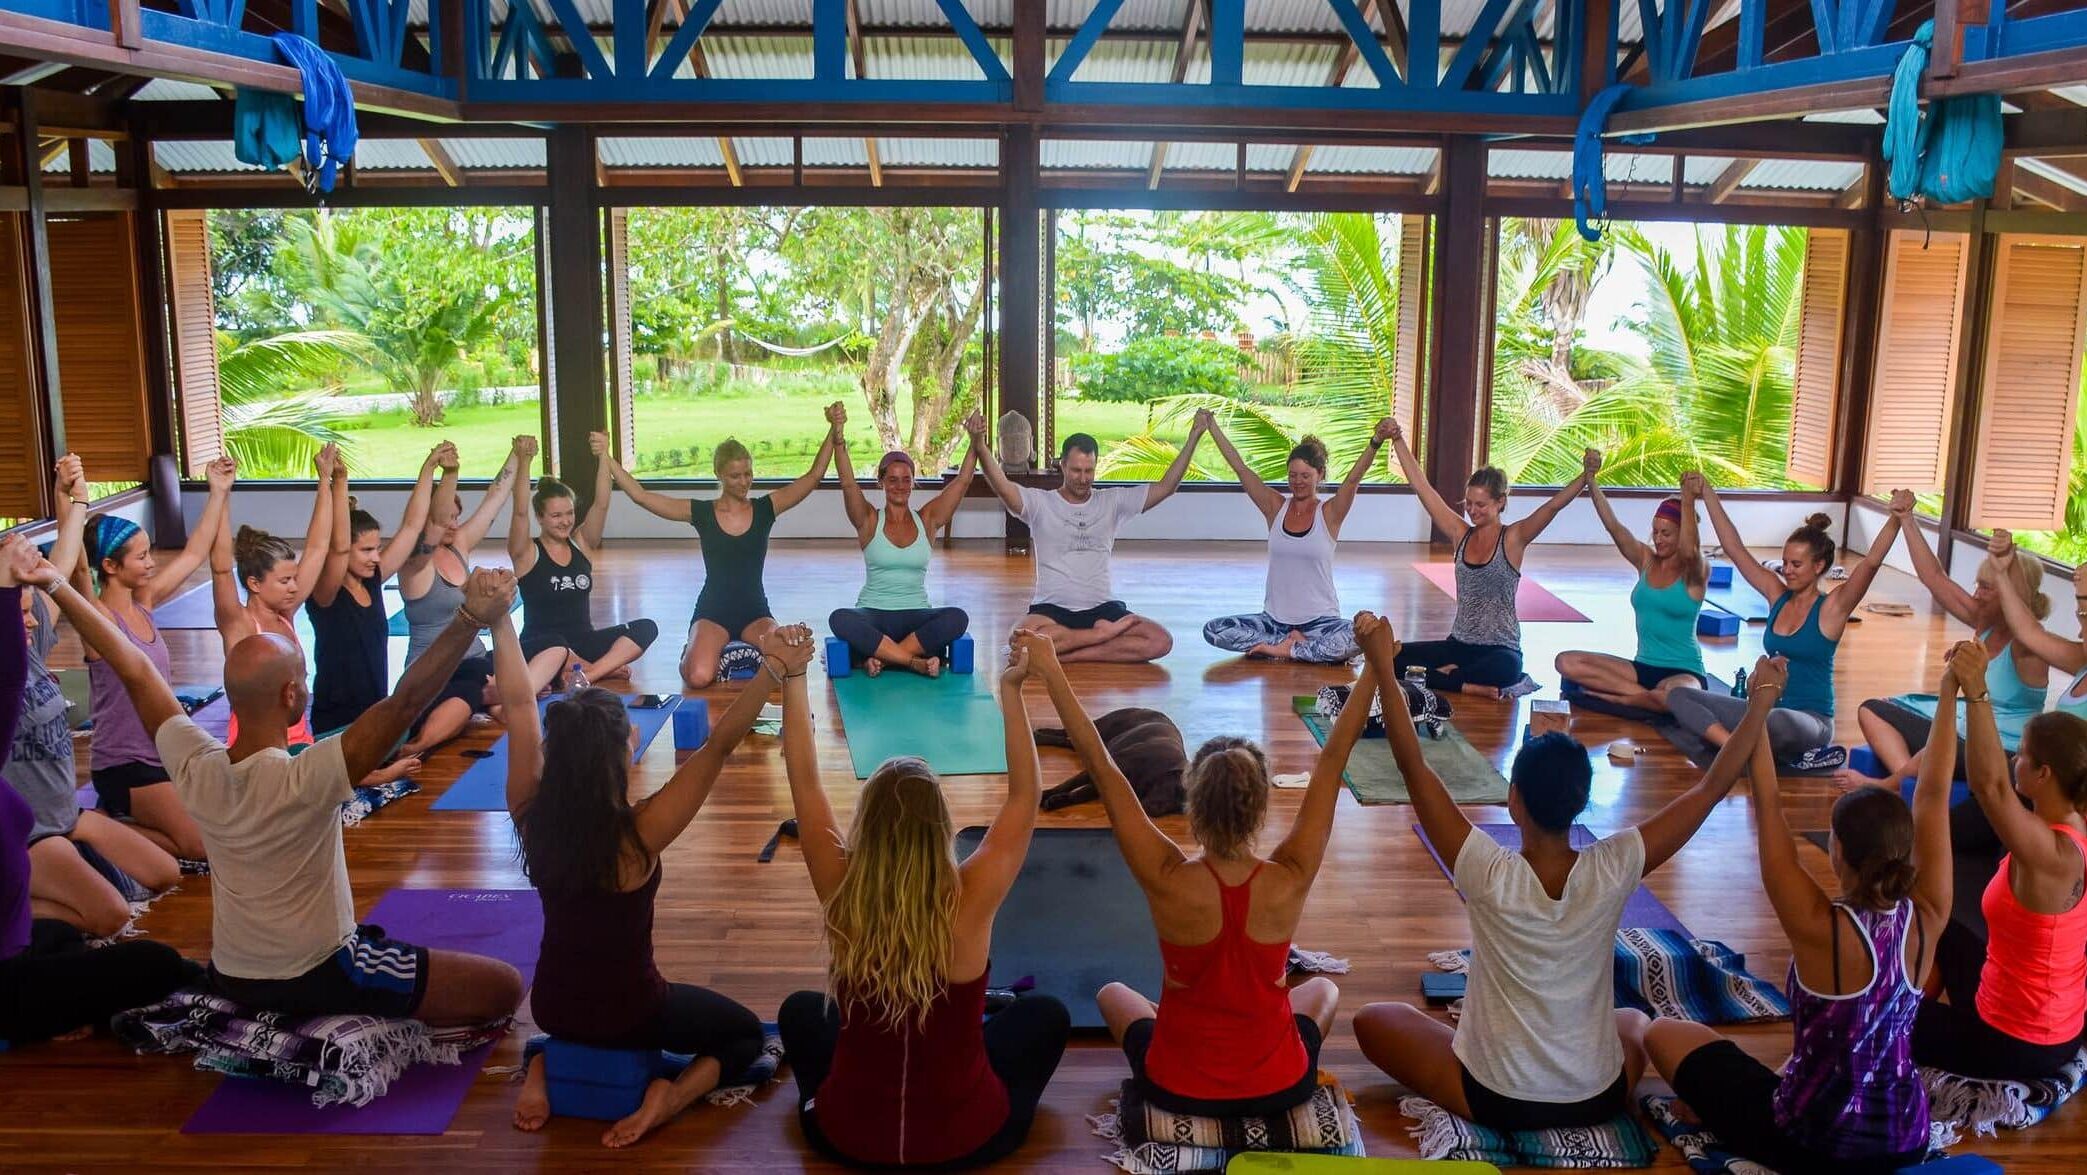
Are you ready to take your yoga practice to the next level? To become stronger, more stable, and even pain-free? Immerse yourself in the Blue Osa experience and get the one-on-one support you need.
Listen Now!
Click here to listen on Spotify.
Book/Inquire Now
Got pain? This will help you!

YOU DESERVE TO LIVE PAIN-FREE...
Receive 7 short, simple, and effective practices to alleviate knee, hip, low back, neck, shoulder pain, and more!
All you need is 5 minutes per lesson and it's FREE!
This revolutionary approach to yoga is new, and no one else is teaching this! Since I created Applied Yoga Anatomy + Muscle Activation™ and started teaching it consistently, I've witnessed students heal long-standing injuries, access yoga postures they never thought possible, and tell me over and over again how their body just feels better.
I hope you'll join me on this journey!
~Yogi Aaron

Is Yoga Teacher Training Right For Me?
We Created This FREE 5 Part Series So You Can Get All The Information To Make The Right Choice.
In this series, you will learn:
-
- Am I a candidate for yoga teacher training??
-
- What will I learn in a YTT?
-
- Do I need to have a perfect downward dog to attend YTT?
14-Day 200-Hour Yoga Teacher Training in Costa Rica
If you are looking for a 14-day 200 hour Yoga Teacher Training Costa Rica Immersion, you have landed in the right place. Join the next one!
300-Hour, 28-Day Yoga Teacher Training

Do You Feel Called To Something Greater?
This 300-Hour Yoga Teacher Training immersion training at Blue Osa will immerse you in yoga for one month.
You will have the specific transformational skills and yogic practices you need in order to connect with your higher purpose.
And more! You will be able to offer these transformative skills to others!