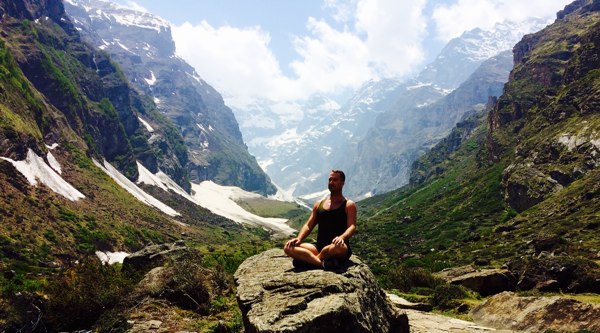
Yoga is a practice of walking into your fear every day and facing it head on until there is no more fear. – Yogi Aaron
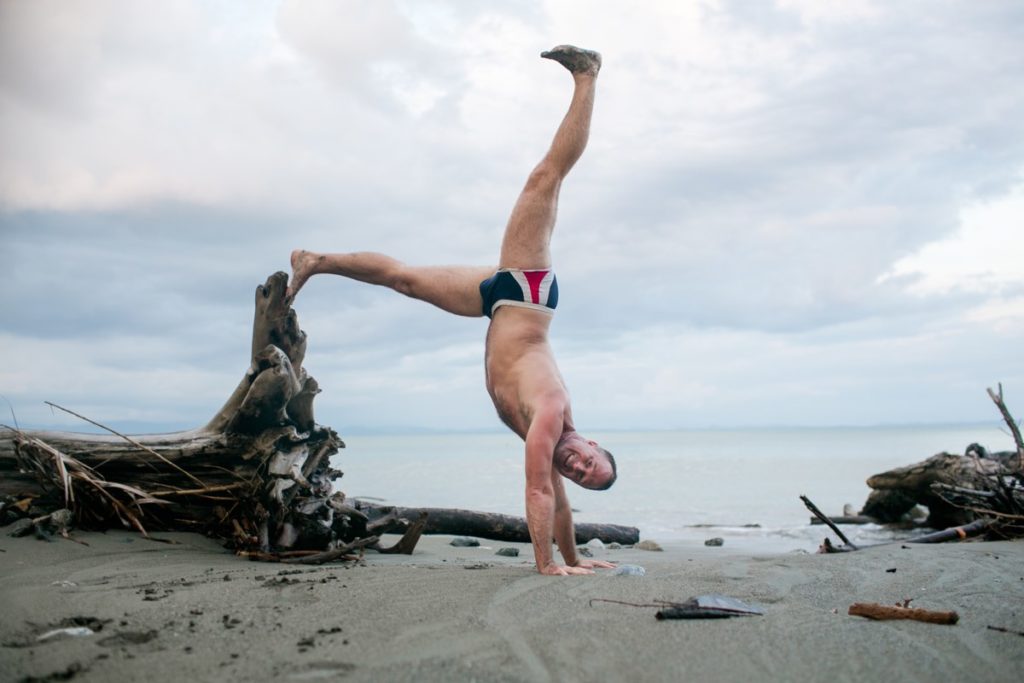
Handstands are one for the hardest poses to master.
And let’s face it, to master handstands are really scary! Well at least for most people they are… most normal people.
Whenever I am about to teach handstand to a group of beginner yoga students, there is always an enormous amount of resistance. But once we break through the (imaginary and self-imposed) walls, they actually become a little addictive.
Why?
Handstands are extremely energizing and empowering.
For me, yoga is, and always has been, about heading straight into my fears. There is nothing like staring down your fears in the face and popping up into that handstand. It’s pure exhilaration!
Just in case, facing your fears isn’t enough motivation for you to get your practice on, here are a few more benefits of Handstands:
- Strength – As B.K.S. Iyengar pointed out, it “develops the body harmoniously. It strengthens the shoulders, arms and wrists and expands the chest fully.”
- Renewed blood flow – Freshly oxygenated blood to the head, improves brain function and complexion
- Fun – You can have a lot of fun when practicing handstand, especially with other friends.
- Energy – Handstands move and help generate an enormous amount of prana. Don’t believe me, take any yoga class and watch what happens when people start doing handstands. You will see them starting to laugh and talk a lot. And the noise volume in the room exponentiates.
Below is my secret handstand practice. While doing handstand practice should not consume your spiritual path, giving it 3 minutes a day will increase your endurance, body awareness and overall stamina.
How To Master Handstands || Yogi Aaron’s Secret Handstand Practice
I am sure there are many ways you are told to practice handstands. Below is the way I learned how to do it mixed with modifications from the past 25 years.
I must say with full disclosure that I can not hold a handstand without the wall for very long. Why? Because it was never important for me to perfect it a nonsupported handstand. Holding a handstand for long periods of time was more important to me than trying to master it without the wall for support.
Being able to hold a handstand for long periods of time (without strain) is a really powerful way to build stamina and inner strength. I can always hear my 70-year-old Iynengar yoga teacher chiming in the background, “We want you to be strong yogis! You need to be stronger! You can’t lay around all day in savasana, even though you want to.”
So with that in mind, once you are able to get up into a handstand, using the wall for support, see if you can stay there for one minute. And then up to two minutes.
Over time you will find that handstands get easier and easier. In the beginning, you might not even be able to stay up for 5 seconds. But give it time, and you will soon be able to do so.
Getting up and staying in a handstand for a long period of time is one part of the practice of doing a handstand that I teach. The other part of the practice is to help you build awareness of your inner core and develop strength in other areas of your body.
Have you ever seen a person float effortlessly into a handstand?
The practice below will give you the steps you need to start the journey teaching you how to fly.
[et_bloom_inline optin_id=”optin_4″]
This practice to master handstands, combined with backbends, will truly energize your day giving you confidence and build your indomitable willpower.
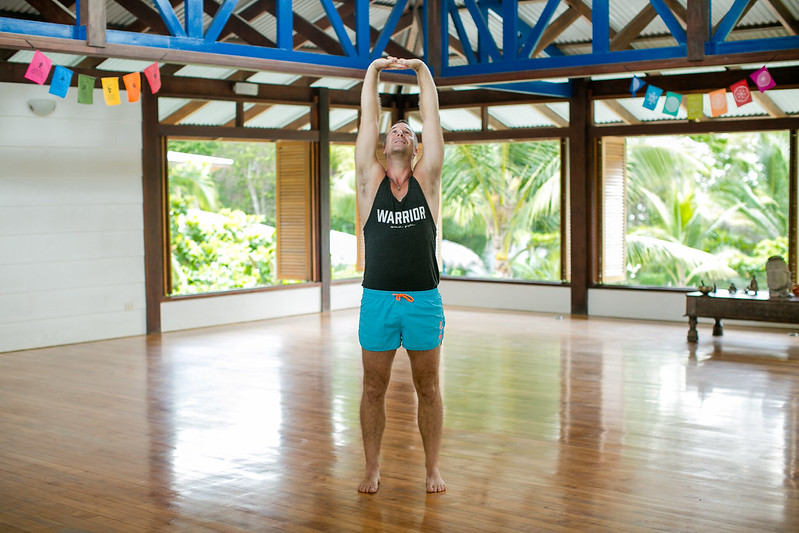
Step 1
First stand in tadasana (mountain pose) with your fingers interlaced pressing upwards. This will help you to find your inverted handstand. Handstand in reverse. While you are doing this pose, imagine your doing the perfect handstand. Your imagination will help prepare your mind and body.
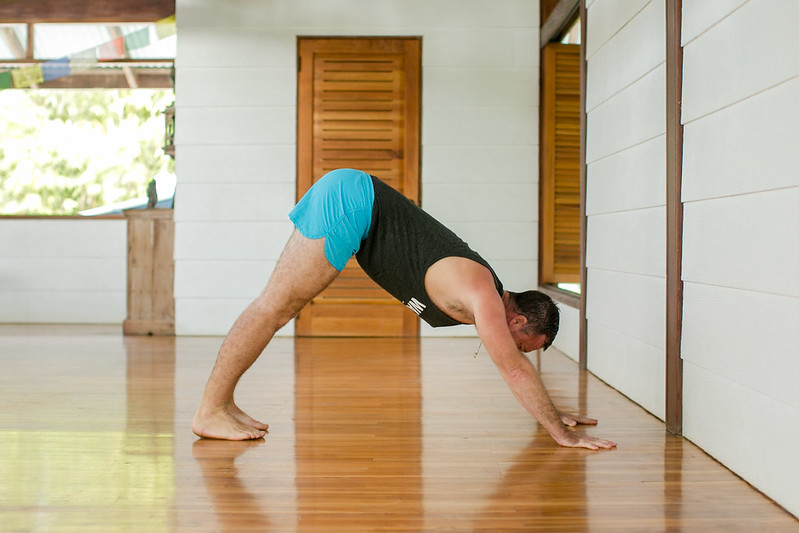
Step 2
In front of the wall, find your downward facing dog.
Step 3
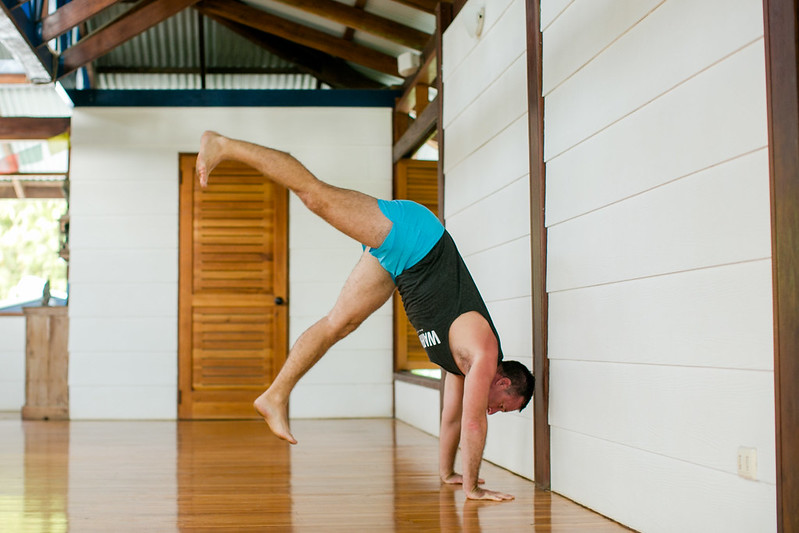
Now using your dominant leg, see if you can kick up to the wall.
Practice keeping your legs straight as you kick up!
In other words, do not bend your knees. Bending your knees will make you instinctively want to “bicycle” your legs up the wall. Don’t do that. Keep your legs straight.
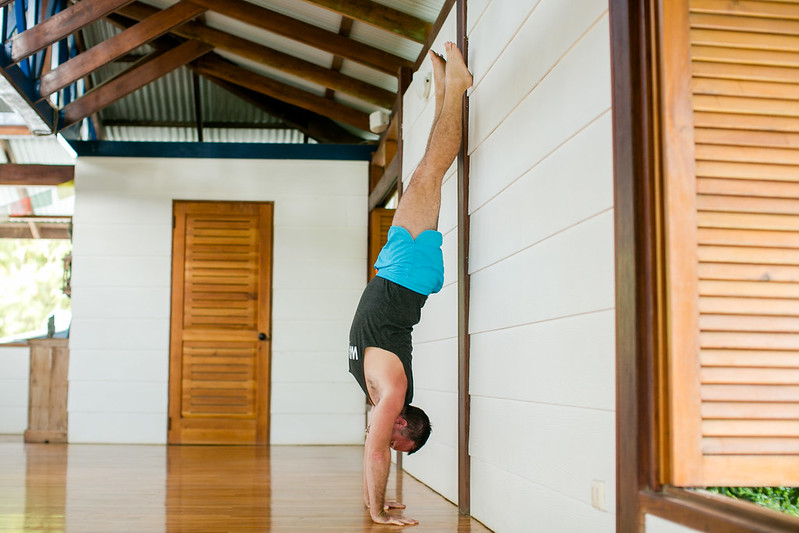
Step 4
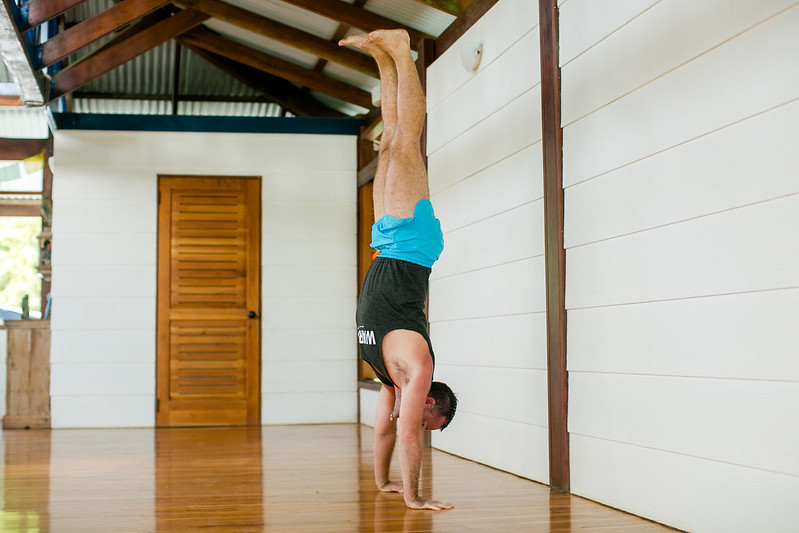
Once you get to the wall, see if you can hang out there for a while. You will want to keep one heel on the wall. KEEP BOTH LEGS STRAIGHT and press all of your energy through your heels toward the ceiling.
Don’t worry about trying to balance at this point. Just work on staying there as long as is comfortable. Doing this will help you to build strength in the muscles that will eventually support you to do a handstand without the wall later on.
In the beginning, see if you can stay here for up to 15 seconds. Then slowly come down, and then practice kicking up with your less dominant leg.
Step 5
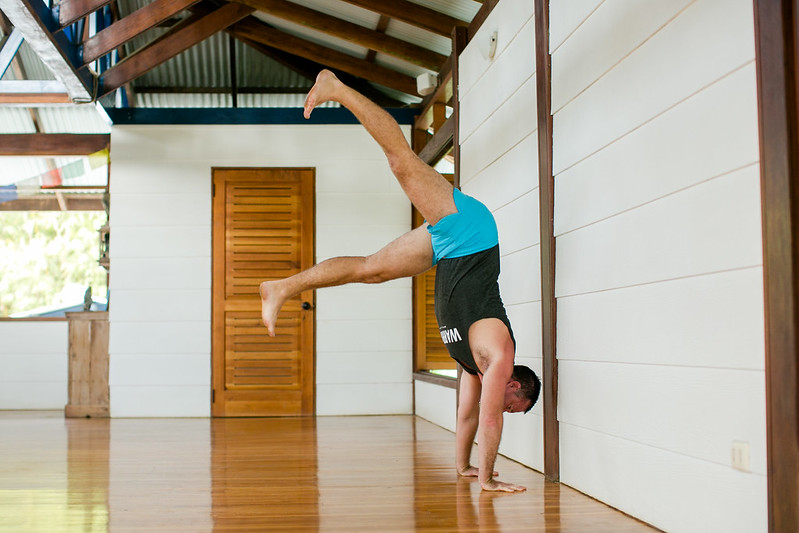
Now continue doing the practice above. BUT as you are kicking up to the wall with one leg, practice kicking up to the wall WITHOUT HITTING THE WALL with the heel of your foot.
If you hit the wall with your kicking leg, come down and do it again and again until you can bring the leg up without hitting the wall.
As you are doing this practice, see if you can move further away from the wall to challenge yourself a little more.
Step 6
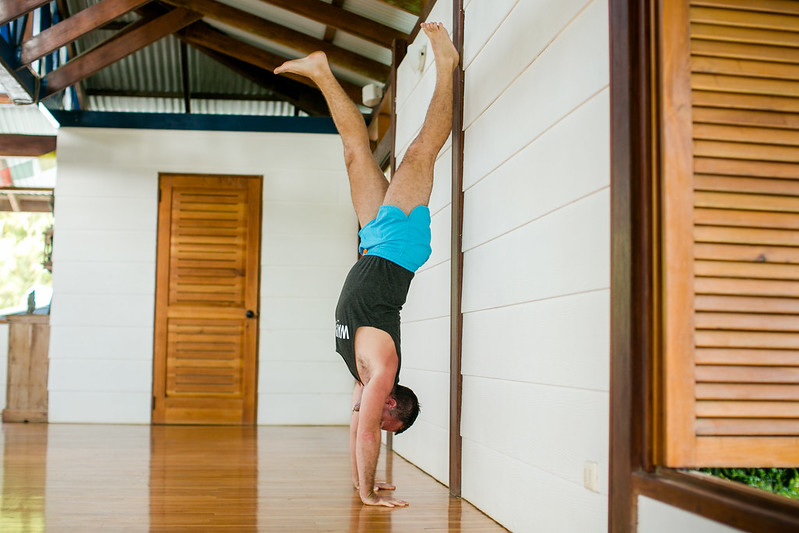
One you are comfortable staying up, see if you can practice taking both heels off of the wall now.
One of the keys to doing this is finding the balance in the hands. Keep working your hands on the floor as if you would in downward facing dog.
Another tip and this is really hard to tell you in writing so you will have to come to Blue Osa. You will want to move the back of the shoulder, glenohumeral joint, to the front. Another easier way of way of saying this is to roll your shoulders back, your shoulder blades down the spine, and do a strong outer rotation of your biceps while squeezing the outer arms towards the midline.
Step 7
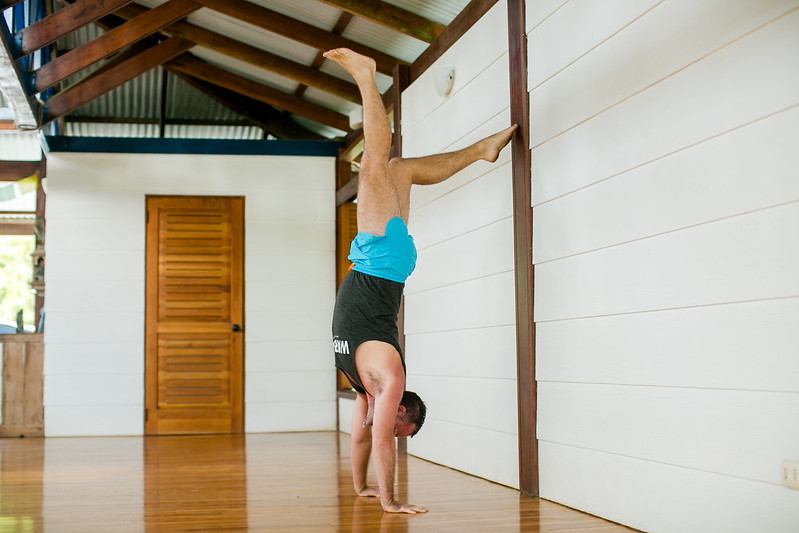
Now the real fun begins. This is where you start to learn how to float.
When you come down, practice keeping one leg as you SLOWLY LOWER the other leg. Find that sweet spot where your legs are at 90 degrees and that you can stay there for up to 5 seconds or longer.
Of course, repeat this exercise with your less dominant leg.
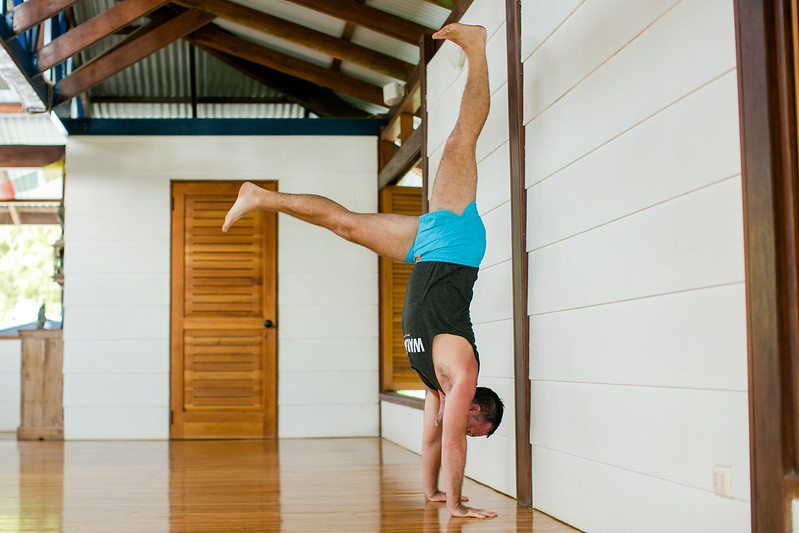
As you are doing this, one tip is to hold your belly in while pulling the center of your navel towards your heart.
Step 8
Now to do the last exercise. Please remember you will not be practicing step 8 until you have mastered step 7. So don’t try this until you have.
[et_bloom_inline optin_id=”optin_4″]
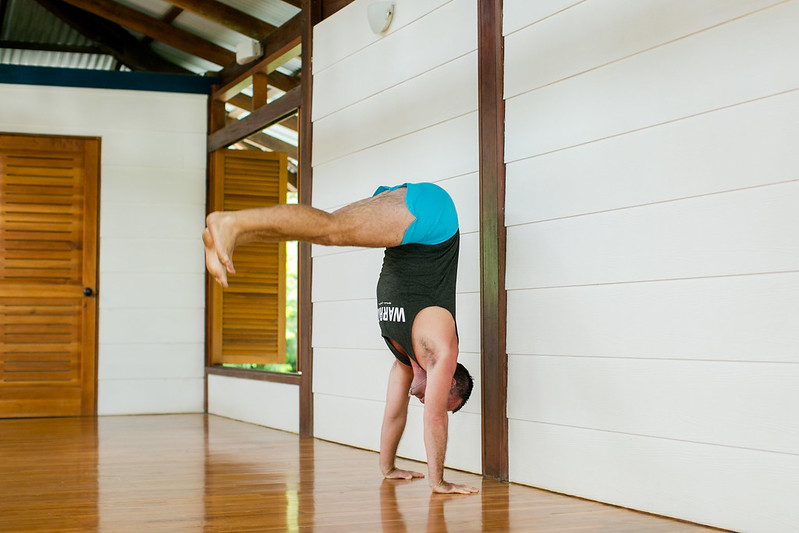
You want to slowly lower both legs together.
Squeezing your legs together and pulling the leg bones (femurs) into your hips, start to slowly lower the legs together.
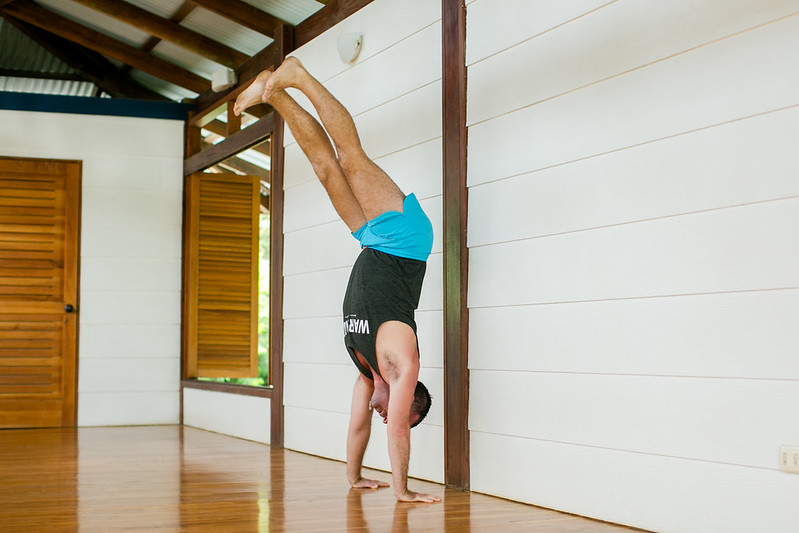
Practice lowering the legs to 90 degrees. And then practice keeping the legs there. As you get good at this, you will be ale to actually hold the legs there for a few seconds.
Step 9
Finally, when you are ready, you can practice handstand without the wall. But remember, this is not the most important step.
My friend John Thurman, told me once that it took him 2 1/2 years to be able to do a handstand without the wall.
If you want to master handstand, he reminds us:
“It is all about the journey!”

And he was practicing it every single day. It will take you some time do it as well. And like anything in life, you need to decide if that is where you want to put your energy.
If it is a practice you want to invest your energy, or isn’t, the practice of handstands does help you overcome fears, grows self-confidence, and builds and enormous wealth of prana/life force energy.
Have fun in your practice. And in return, your practice will give you so much back.
Want to dive deeper into your practice? Join Yogi Aaron for a Yoga Teacher Training In Costa Rica!
All photos credited to the talented Maria Hillier.
Once again, I love your simple instructions on Arm Balance. At KYH, under Mr. Iyengar’s instructions, we put a strap around our arms, just above elbow level to give us more stability and to keep those triceps turning in and the biceps turning out. This little prop, along with my little slant board under the heel of my hands to assist my “surgically altered wrist”, has helped me to access Arm Balance and to be able to hold it now for about 1:45! Hey, at my age, this is huge!