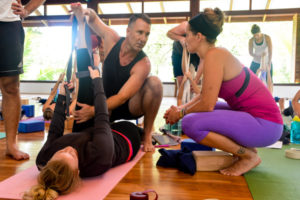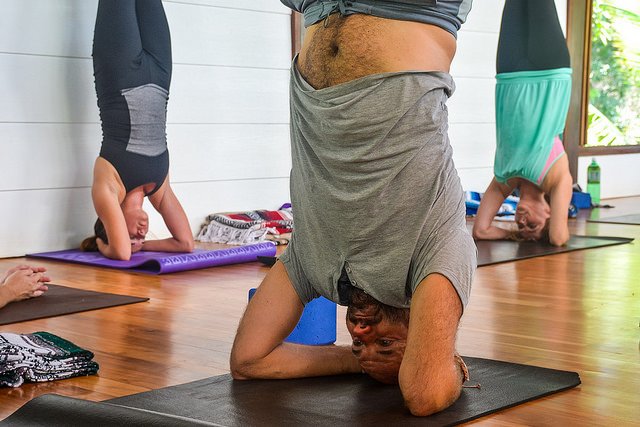
Sirsasana I, or supported headstand, is considered to be the king of all yoga poses and can seem a bit daunting at first. It is definitely not a pose you should rush, because you could risk serious injury without following proper technique.
The safest and most effective way to practice the supported headstand is to break the pose into steps, mastering each step along the way and making sure you have enough strength to move on to the next step. Because this pose requires a strong and healthy neck, those suffering from any kind of neck injury should refrain from practicing this pose. Follow this helpful guide to practicing headstand and learn the many benefits you may achieve from it.
Benefits of Headstand
Physical Benefits
When performed correctly, the supported headstand offers a full upper body workout that strengthens your core, arms, and shoulders. You increase blood flow to both the brain and eyes which can help with both your scalp and prevent eye issues such as macular degeneration. The pose also helps to nourish the face and has the added benefit of alleviating pressure on your heart since it needs to work less to pump blood to your upper body.
Internal Benefits
Being in an upside down position reduces the production of cortisol which promotes stress. The extra blood flow to the brain produces melatonin, dopamine, and serotonin which can all help regulate your hormones and mood. It also has the ability to reduce stress, anxiety, and depression. Headstand can also stimulate your lymphatic system to help remove toxins from your body as well as aid with digestion as it reduces or eliminates trapped gas.
How To Perform Headstand
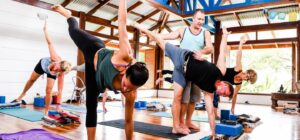
You may wish to do a few prepping poses to get your body ready for headstand. These include shoulder opening exercises, dolphin pose, and forearm plank. These will all help loosen you up and help you develop the arm and core strength you will need for headstand.
Step 1
Start by positioning yourself in a tabletop pose, where your arms and knees create the “legs of the table”. Your elbows should be placed directly under your shoulders, touching the floor. Your forearms should also be resting on the floor straight out in front of you with your hands clasped with interlaced fingers. To avoid injury to the pinky finger on the bottom of your clasped hands, tuck this finger into the basket that is created from your clasped hands. The foundation for headstand will include your forearms, elbows, wrists, and outer edges of your hands.
(Note: You may wish to start practicing this pose by using a wall for support or ask a friend or teacher to spot you until you feel comfortable performing it alone.)
Step 2
Next, you’ll drop your head so the crown rests on the floor. Make sure that the top of the head is touching the floor and that it rests at the bases of the thumbs on your clasped hands.

Step 3
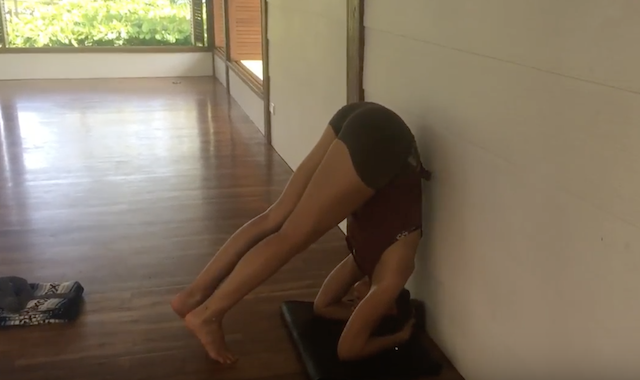
The next step is to raise your hips and straighten your legs. Keeping your elbows directly under your shoulders, you will begin to walk your feet forward until your hips are as close to being over your shoulders as possible. The majority of your body’s weight should be resting on your forearms and not your head. If you find your shoulders starting to sink forward past your elbows or your back seems to be rounding, stop and try to build more upper body strength and flexibility in your upper back and chest before attempting headstand.
Step 4
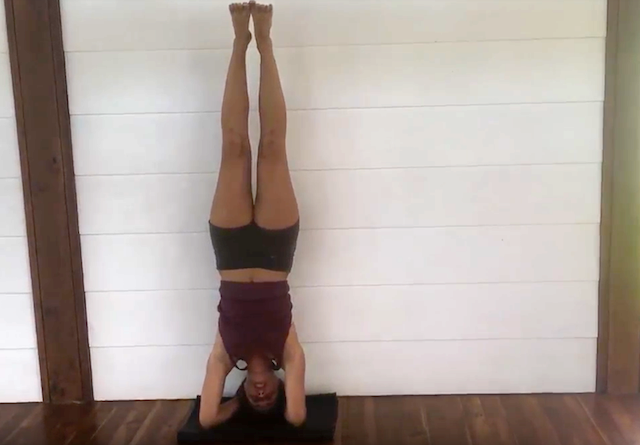
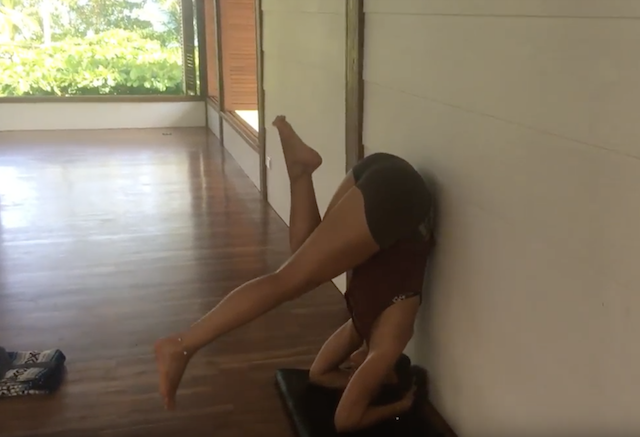
The next step is to raise your legs, which also tends to be the trickiest part. Beginners may want to start by raising one leg at a time. With your legs in a straight position, lift one leg towards the ceiling. You can raise your other leg once your first leg is in line with your torso. It is important to not try and kick up into a headstand, but instead slowly control your ascent to avoid injury and strengthen your abs.
Your legs should be joined together as you push your tailbone up towards your heals. Reach through the heels and balls of your feet. Once both your legs are raised and are in line with your torso, remain balanced and focus on steady breathing. Only hold the pose for as long as you feel comfortable but a good goal to start with is 3 deep breaths.
After mastering this technique, you can attempt to lift both your legs vertically simultaneously, but note that this requires a great deal of abdominal strength.
Step 5
Coming down out of headstand requires just as much care and control as it does going into it. You will want to slowly lower your legs one by one to the floor. By lowering one leg at a time, you have a counterbalance created by the leg that remains in a raised position, which will keep you balanced as you lower the first leg.
Once both feet are back on the floor, you can lower your knees to the floor as well. Rest for a moment in the Child’s Pose to recover.
[et_bloom_inline optin_id=”optin_16″]
Modifications for the Supported Headstand
There are a few variations you can try once you have mastered the traditional headstand which includes:
Pike-Up Version: This is the variation which sees you lift both legs together at the same time, each in a straight position until both sets of ankles, knees, and hips are in line above your shoulders. This modification places the least amount of pressure and weight on the crown of your head.
Curl-Up Version: This variation involves raising both your legs simultaneously while bending and bringing your knees into your chest. You will then straighten both legs at the same time as you raise them towards the ceiling, placing them in line above your shoulders.
Pin It For Later!
About the author:

Casey Siemasko is a content marketing consultant, travel blogger, and wandering yogi. An entrepreneur at heart, she is the co-founder of the award-winning travel blog A Cruising Couple. Besides yoga and travel, she enjoys wine tastings, being outdoors and taking on new hobbies. Follow Casey on LinkedIn and Google+.
Follow Casey: